

Tuesday afternoon, 2:47 PM. My 3-year-old was having what can only be described as a nuclear meltdown because I gave her the yellow cup instead of the blue one, my husband was texting me about forgetting lunch again, and I was staring at my empty snack drawer like it might magically produce something healthy and satisfying.
That’s when I spotted the jar of peanut butter and the container of oats sitting innocently on my counter, practically begging to become something amazing.
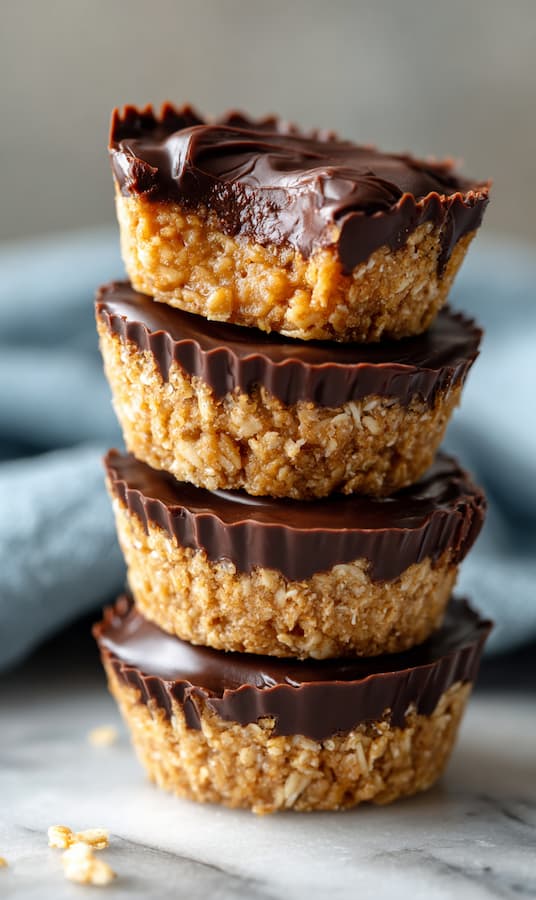
Forty-five minutes later, I had a batch of these chewy, chocolatey little cups that made my toddler forget all about cup colors, gave my husband something to pack for tomorrow’s lunch, and kept me from diving face-first into the kids’ goldfish crackers.
They taste like Reese’s cups had a baby with a granola bar. In the best way possible.
These no-bake peanut butter oat cups have become my secret weapon for those moments when everyone needs a snack but I need it to actually have some nutritional value. They’re sweet enough to feel like a treat but wholesome enough that I don’t feel guilty handing them out at 3 PM.
Perfect.
Why These Healthy Peanut Butter Oat Cups Work
No-Bake Peanut Butter Oat Cups Recipe
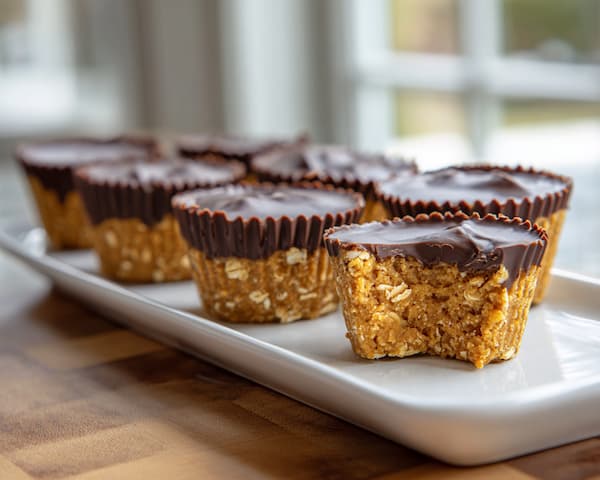
This recipe makes 10 perfectly portioned cups, though in my house they tend to disappear faster than expected. Here’s what you’ll need:
Ingredients
| Ingredient | Amount |
| Natural creamy peanut butter | 8 tbsp (½ cup) |
| Pure maple syrup | 6 tbsp |
| Old-fashioned rolled oats | 1¾ cups |
| Mini chocolate chips or chopped dark chocolate | ½ cup |
| Natural creamy peanut butter (for topping) | 5 tbsp |
Step-by-Step Instructions for Peanut Butter Oat Cups
Step 1: Prep Your Muffin Tin
Line your muffin tin with paper liners. Trust me on this one – it makes removing the cups so much easier and saves you from scraping stuck oat mixture out of the tin later.
If you absolutely don’t have liners, lightly grease each cup with coconut oil or butter.
Step 2: Make the Oat Base
In a medium mixing bowl, combine 8 tablespoons of peanut butter and 6 tablespoons of maple syrup. Stir with a spatula until the mixture is smooth and glossy.
Add the rolled oats and mix thoroughly until every oat is coated with the peanut butter mixture. The mixture should look sticky and hold together when pressed.
Step 3: Press Into Cups
Scoop about 2 tablespoons of the oat mixture into each muffin liner. Using the back of a spoon or clean fingers, press the mixture down firmly to create a compact, even layer.
Don’t be shy about pressing hard – you want these bases to be well-packed so they hold together when you remove them from the tin.
Step 4: Chill the Base
Pop the muffin tin in the refrigerator for 15-20 minutes. This firms up the oat base and prevents it from crumbling when you add the chocolate topping.
Use this time to clean up your mixing bowl or prep any toppings you want to add.
Step 5: Prepare the Chocolate Topping
In a microwave-safe bowl, combine the ½ cup chocolate chips and 5 tablespoons peanut butter. Microwave in 20-second intervals, stirring between each burst, until the mixture is smooth and melted.
This usually takes 60-90 seconds total, but watch it carefully – chocolate can go from perfect to burnt in seconds.
Step 6: Top the Cups
Remove the muffin tin from the fridge and spoon 1-2 teaspoons of the melted chocolate mixture over each oat base, spreading it to cover the surface.
Gently tap the tin on the counter to help the chocolate settle into an even layer.
Step 7: Set in the Freezer
Place the muffin tin in the freezer for 20-30 minutes until the chocolate topping is completely set and the cups feel firm to the touch.
This step is crucial – skipping it means messy, soft cups that won’t hold their shape.
Step 8: Serve and Enjoy
Remove the cups from the muffin tin and peel off the paper liners. Let them sit at room temperature for about 5 minutes to soften slightly before eating.
Store any leftover cups in the refrigerator in an airtight container.

Storage and Make-Ahead Tips
These cups keep beautifully in the refrigerator for up to 10 days, making them perfect for meal prep. I like to make a batch on Sunday afternoon so we have healthy snacks ready all week.
For longer storage, you can freeze them for up to 3 months. Just thaw at room temperature for 10-15 minutes before eating.
They’re delicious straight from the fridge if you like them firm and cold, or you can let them come to room temperature for a softer, chewier texture.
Tips for Perfect Peanut Butter Oat Cups
- Use natural peanut butter.
The kind without added oils and sugars works best and keeps these truly healthy. If your peanut butter is very thick, you can warm it slightly to make mixing easier.
- Don’t skip the chilling steps.
Both the initial chill for the base and the final freeze for the chocolate are crucial for structural integrity.
- Press the base firmly.
This isn’t the time to be gentle – you want those oats compacted so your cups don’t fall apart.
- Watch your chocolate carefully.
Overheated chocolate becomes grainy and never quite recovers. Short bursts in the microwave are your friend.
Nutritious Variations to Try
Almond Joy Version: Add shredded coconut to the base and use dark chocolate chips for the topping.
Protein Power: Stir in a scoop of vanilla protein powder with the oats (you might need an extra tablespoon of maple syrup).
Tropical Twist: Add dried pineapple pieces and coconut flakes to the base.
Spiced Version: Stir in ½ teaspoon cinnamon and a pinch of nutmeg for warm spice notes.
Nutritional Information
| Nutrient | Per Cup (makes 10) |
| Calories | 220 kcal |
| Fat | 12g |
| Protein | 5g |
| Total Carbs | 24g |
| Fiber | 3g |
| Net Carbs | 21g |
Note: Values are approximate and may vary based on specific brands and portion sizes.
Perfect Pairings and Serving Ideas
These cups are versatile enough for any time of day:
- Morning snack with a piece of fruit for balanced energy
- Post-workout treat with a glass of milk for protein recovery
- Afternoon pick-me-up when that 3 PM energy crash hits
- Healthy dessert that won’t leave you feeling guilty
- Kids’ lunch box treat that other parents will be asking about
Frequently Asked Questions
Can I use quick oats instead of old-fashioned?
Old-fashioned oats give the best texture, but quick oats will work in a pinch. The cups might be slightly less chewy.
What if I don’t have maple syrup?
Honey works as a substitute, though it will make the mixture a bit stickier. Agave nectar also works well.
Can I make these nut-free?
Absolutely! Use sunflower seed butter or soy butter instead of peanut butter for a nut-free version.
Final Thoughts
These no-bake peanut butter oat cups have become one of my most-made recipes, and for good reason. They satisfy that sweet tooth while actually providing nutrition, they’re simple enough to make with kids “helping,” and they solve that eternal snack dilemma that every parent faces.
What I love most is how they make everyone happy. The kids see chocolate and get excited. I see oats, natural peanut butter, and minimal added sugar and feel like I’m winning at this whole mom thing. My husband gets a satisfying snack that doesn’t leave him crashing an hour later.
They’re proof that healthy doesn’t have to mean boring, and that sometimes the best solutions come from staring into your pantry and letting creativity take over. Whether you need a quick energy boost, a healthy dessert, or just want something sweet that won’t derail your good intentions, these little cups deliver every single time.
So grab that peanut butter, dust off your oats, and get ready to create something that’s about to become your new go-to healthy treat!